Author Topic: Rebuilding Roseanne  (Read 19684 times)

0 Members and 1 Guest are viewing this topic.

Hans

  • Club Member
  • *****
  • Posts: 1055
    • View Profile
Rebuilding Roseanne
« on: August 25, 2010, 08:25:50 AM »
Russ mentioned I should document my rebuild of Roseanne. 


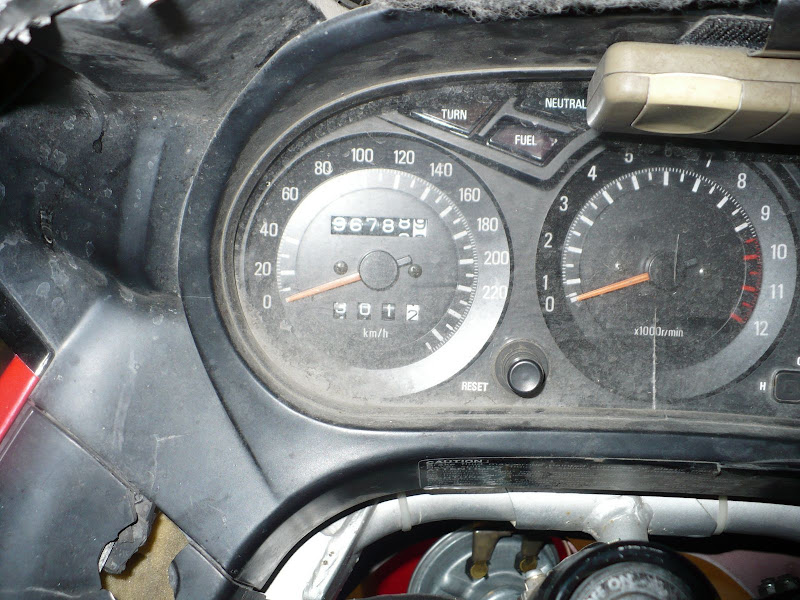
Almost 97000km on the clock.  Burns some oil, pretty low readings on the compression test.  So found a bigbore kit on hte FJowners forum for a reasonable price.  1188cc to 1314cc in 420 easy steps.


Along with burning oil, she leaks oil too here and there, usually onto something hot.


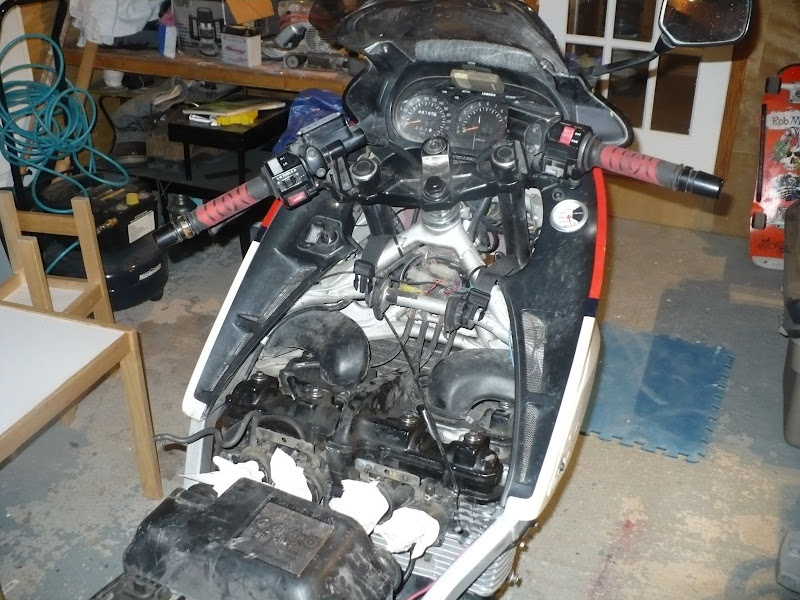
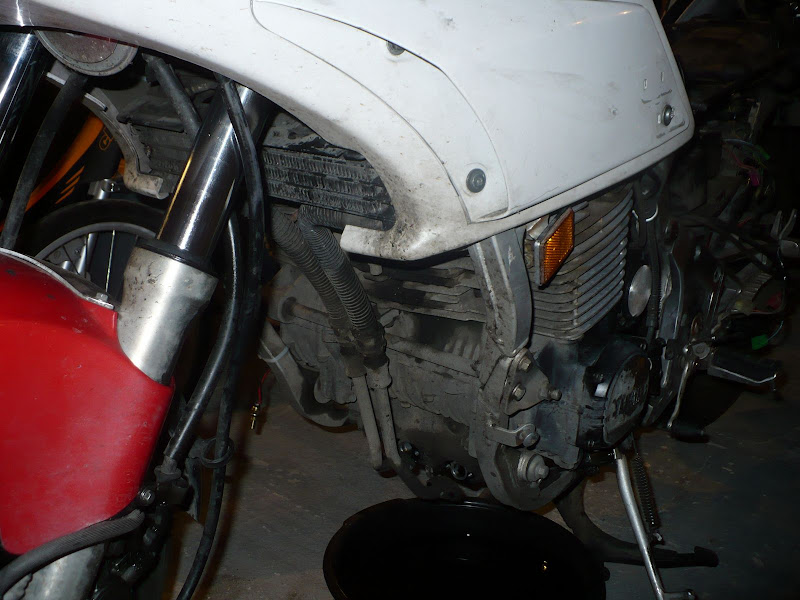
Tank off, Carbs out, exhaust off and oil drained.


My work area, the netbook has a pdf version of the service manual (thanks Ken) and also streams from my iTunes server so I have music.  Also have a paper service manual.  There are several instances where the 2 manuals don't agree....   The first days work was a 2 beer process.


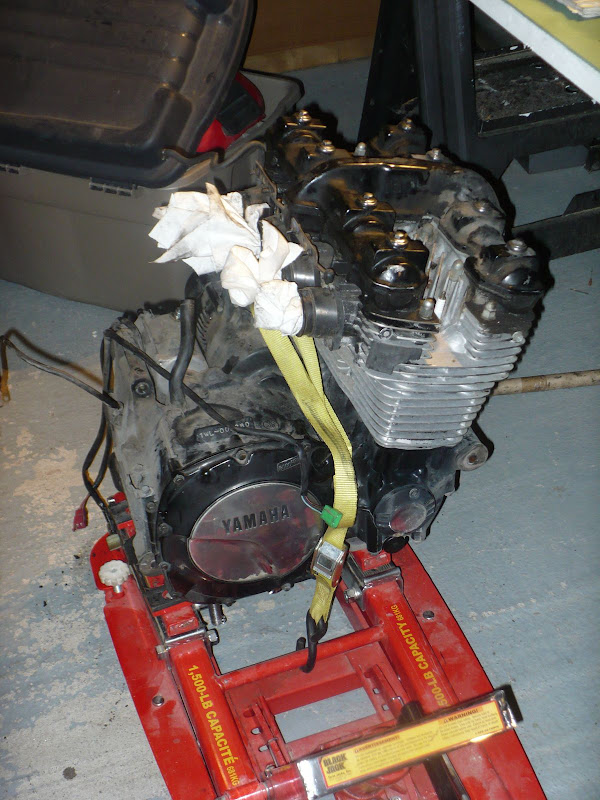
One very grungy engine out of the frame.  This lump is friggin heavy.


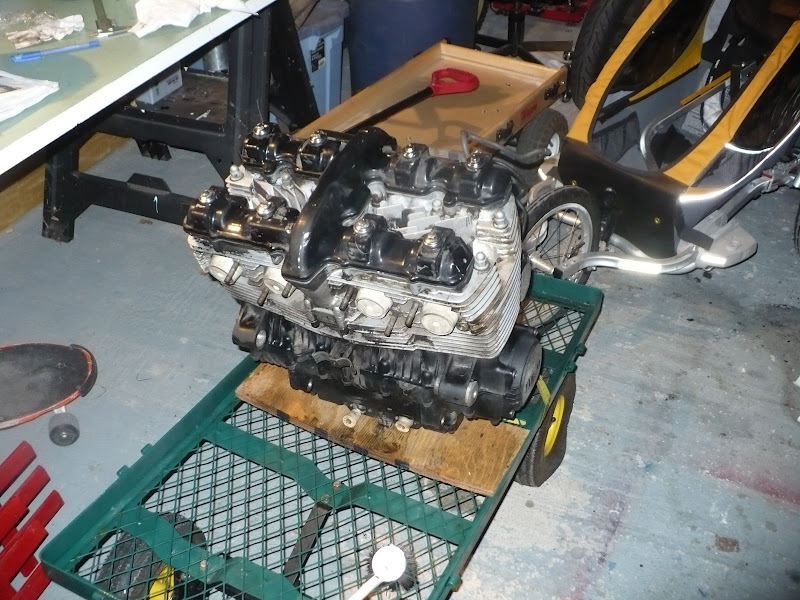
Garden carts are useful for something.  Make great wash carts.  Once can of WD40, 2 cans of engine shampoo, lots of hot soapy water and a pressure cleaner, and this is still pretty grungy.


Disassembly begins.  The head was tough to get off, the gasket kept hanging up on the studs.


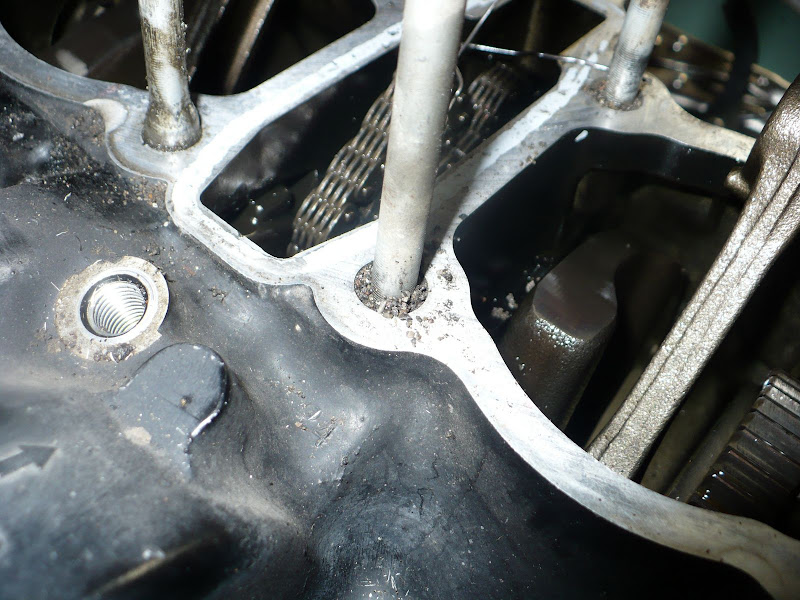
Several of the stubs were supposed to have a rubber sleeve on them.  Heat and age broke this down into granular bits which promptly went into the lower end when I lifted the cylinders.


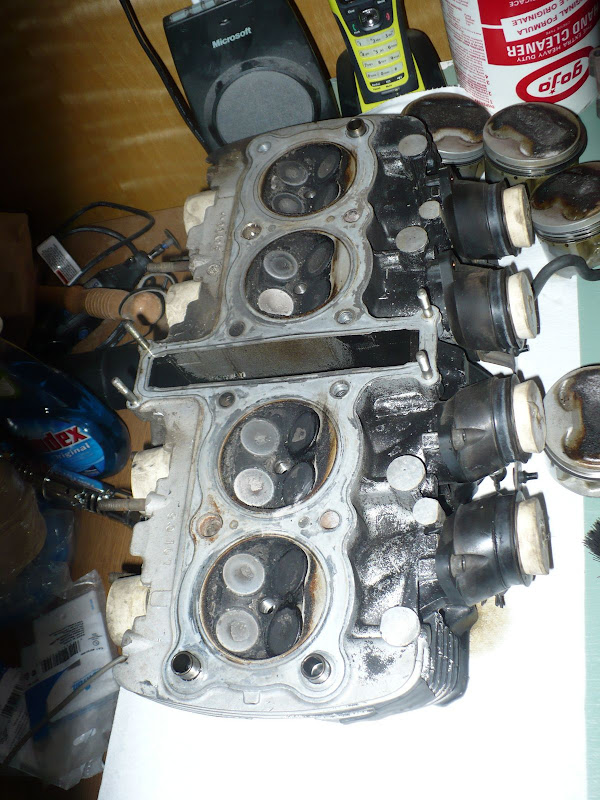
Head look pretty good.  Just going to clean it up and do that valve seals.


Pistons look not too bad either.  Some pretty bubbly carbon deposits from burning a bit of oil.


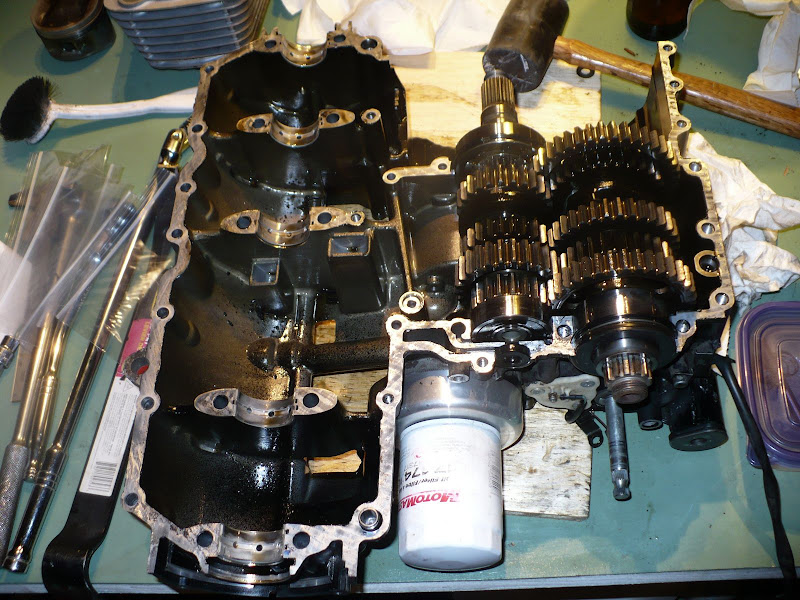
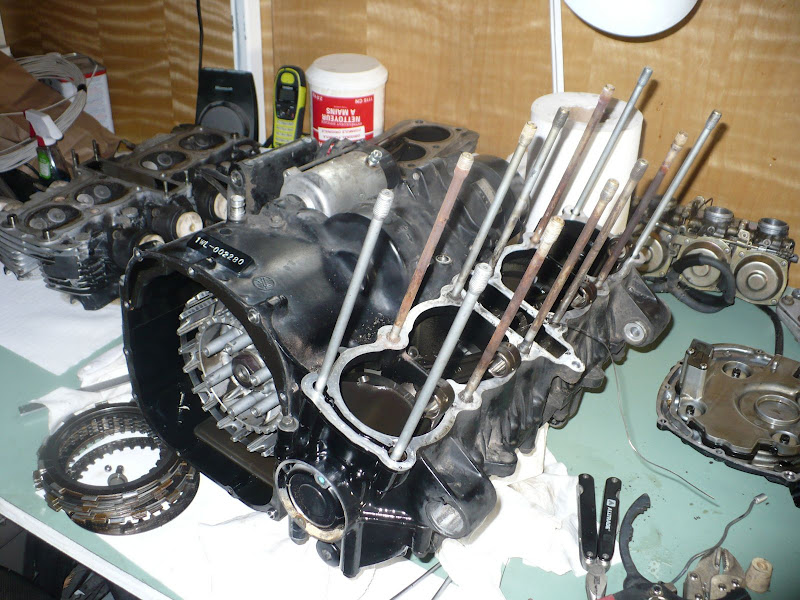
Cases split.  There was one hidden bolt not referred to in one of my manuals. 


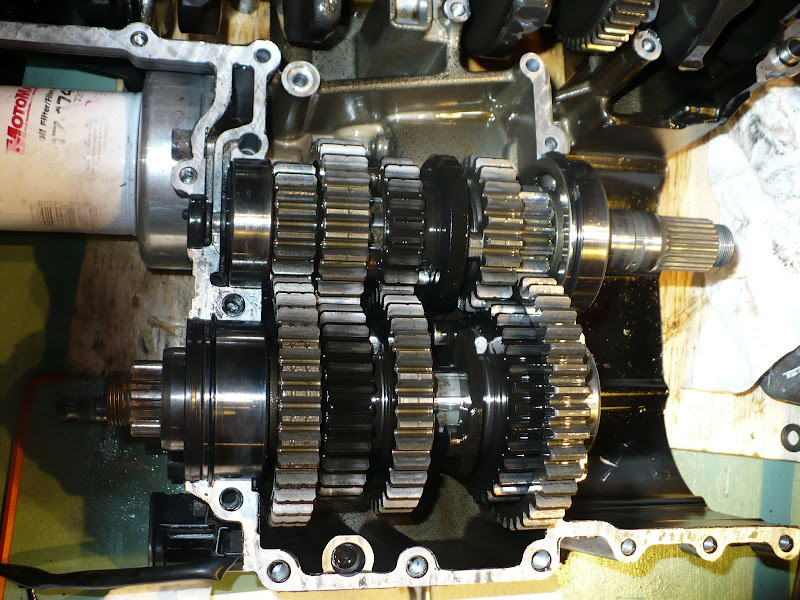
Will be looking at 2nd gear while this is apart.  Pay no attention to the Crappy Tire oil filter.  It was just there to keep water out when I was cleaning the engine.


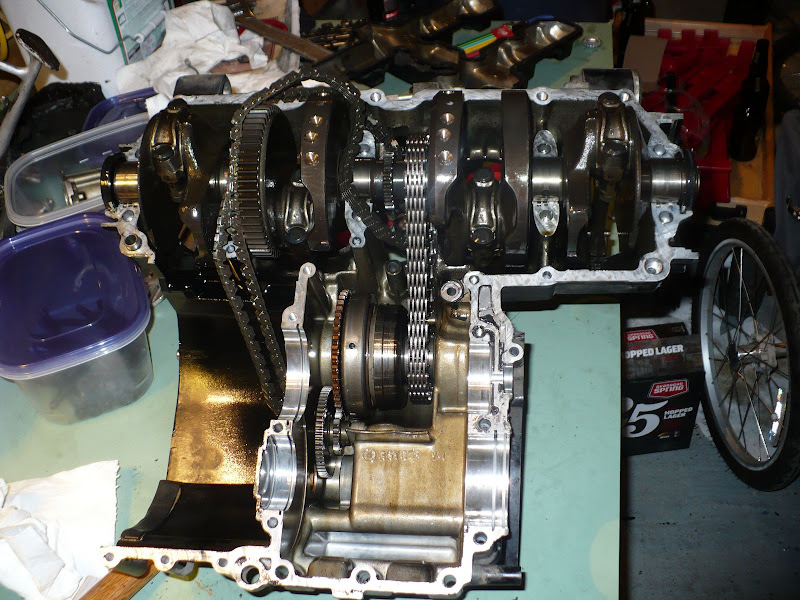
Crank comes out with the top case.


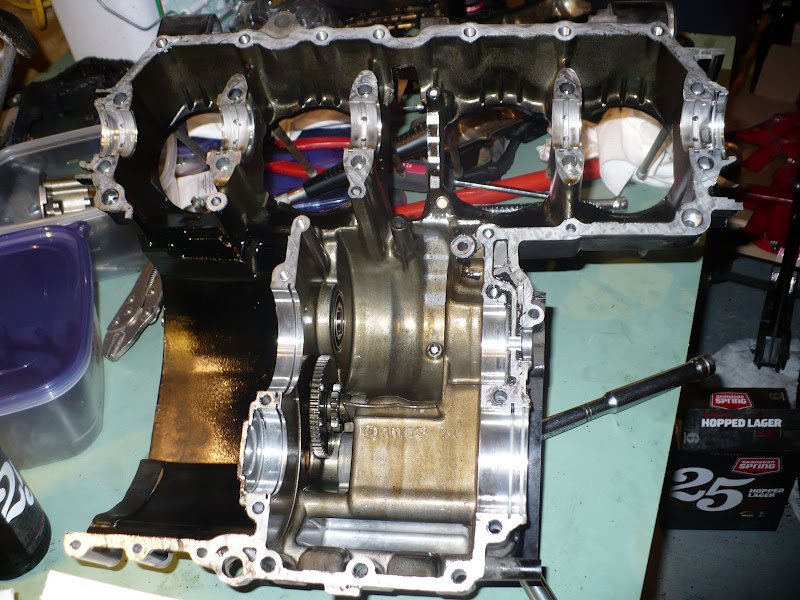
Crank out of the top case, it's ready to go visit the machinist.  I have to pay a couple visits to my friendly neighbourhood Yamaha dealer.
I live with fear and danger everyday, but sometimes I leave her at home and go motorcycling.

Fritz

  • Guest
Re: Rebuilding Roseanne
« Reply #1 on: August 25, 2010, 09:10:27 AM »
Good Work Hans...
Looking Forward to all   420   Steps   ;D

Hans

  • Club Member
  • *****
  • Posts: 1055
    • View Profile
Re: Rebuilding Roseanne
« Reply #2 on: October 01, 2010, 10:27:02 PM »
A couple of more pics to add.  Have had Jeff machine the cases.  New barrels now fit nicely.


Piston in the middle is as it came out of the engine.  Piston on the left is after a week in the varsol tank and a little bit of scraping with a plastic putty knife.  Cleaned up pretty good.  Piston on the right is what will be going into Roseanne however.


Here you can see the difference in bore.  77mm to 81mm


Dome is a bit higher also.  Compression goes from 9.7 to 10.25.
I live with fear and danger everyday, but sometimes I leave her at home and go motorcycling.

Admin

  • Administrator
  • *****
  • Posts: 240
    • View Profile
Re: Rebuilding Roseanne
« Reply #3 on: October 04, 2010, 02:16:16 PM »
And only 400 more steps to go
good job H

Donovan

  • Club Member
  • *****
  • Posts: 392
    • View Profile
Re: Rebuilding Roseanne
« Reply #4 on: October 04, 2010, 04:42:53 PM »
Hans looks great, I will have to have you give me lessons on rebuilding engines when my turn comes.  Eager to see some more pics.

Donovan

Fritz

  • Guest
Re: Rebuilding Roseanne
« Reply #5 on: October 15, 2010, 05:29:30 PM »
The piston pics show a great story....

Have you got them back into the barrels now?

Hans

  • Club Member
  • *****
  • Posts: 1055
    • View Profile
Re: Rebuilding Roseanne
« Reply #6 on: October 15, 2010, 08:13:09 PM »
Nope, still waiting for a few more parts, cam and starter chain and guides.  Then the real test begins.  I can take it apart, but can I get it together?
I live with fear and danger everyday, but sometimes I leave her at home and go motorcycling.

Hans

  • Club Member
  • *****
  • Posts: 1055
    • View Profile
Re: Rebuilding Roseanne
« Reply #7 on: October 18, 2010, 10:47:33 PM »
Some more progess.  Head is still at Jeff's getting his porting and polishing treatment.  Still wating for a cam and starter chain, should be here next week.  Then I can start assembly for real.  In the meantime.......


Decided to put the transmission back into the lower case.  As per normal, the one manual say to assemble it into the top case, the other into the lower case.  I'm going to try the lower case method.  This is just the shift drum.  Still haven't found the mythical 6th gear.  Had to wash the cases in the downstairs bathtub (I asked first).  Washed some really filthy parts in the varsol tank and the fluid got horribly contaminated with really fine silt.  Have to clean it out, but in the meantime, the aluminum stuff can get washed in soap and water. 


Gearset back in.  Would have been easier if I had 3 arms and hands half the size.  Eventually got it figured.


This is the Factory Pro shift kit.  The detent arm has a bearing instead of just a bushing and the spring that came with it is about twice as stiff.
I live with fear and danger everyday, but sometimes I leave her at home and go motorcycling.

Hans

  • Club Member
  • *****
  • Posts: 1055
    • View Profile
Re: Rebuilding Roseanne
« Reply #8 on: October 20, 2010, 09:31:06 PM »
Going great guns now.  Thought I'd get a little jump on the matter and get the rods onto the crank.  New bearings and all.

Look, I'm almost organized.


First one on...


And a half hour later, the rest.  According to the book, I even have them on the right way.

I live with fear and danger everyday, but sometimes I leave her at home and go motorcycling.

Rusty Bucket

  • Guest
Re: Rebuilding Roseanne
« Reply #9 on: October 21, 2010, 09:26:19 AM »
Eww, rod bolts. :D  I put a roller shift cam bearing in place of a nylon wheel on the shift cam of my BMW, certainly more precise feeling;  almost too positive.  Somehow it seems more likely to leave a sore spot on your foot now.  The bearing I put in had to come to Kaman through a clock maker in Vancouver and set me back $50...

Hans

  • Club Member
  • *****
  • Posts: 1055
    • View Profile
Re: Rebuilding Roseanne
« Reply #10 on: October 22, 2010, 09:56:23 PM »
Got my head back from Jeffries While-U-Wait Porting and Polishing Emporium.


A couple closeups of his work

The chamber


The intake


The exhaust


Started lapping in the valves, got through the exhaust side tonight.  Need opinions, did I do the one on the right enough.  On the left is the before shot.


Off to watch F1 qualifying now.
« Last Edit: October 22, 2010, 10:05:16 PM by Hans »
I live with fear and danger everyday, but sometimes I leave her at home and go motorcycling.

Hans

  • Club Member
  • *****
  • Posts: 1055
    • View Profile
Re: Rebuilding Roseanne
« Reply #11 on: October 24, 2010, 10:52:27 PM »
Started putting the valves back in tonight, got one cylinder done before I felt like calling it a night.  Here's a before and after shot of Jeff's work.  Not the same angle, but you can get the idea.

Before


After

I live with fear and danger everyday, but sometimes I leave her at home and go motorcycling.

Hans

  • Club Member
  • *****
  • Posts: 1055
    • View Profile
Re: Rebuilding Roseanne
« Reply #12 on: October 25, 2010, 10:03:14 PM »
Got the head finished.  If anyone needs to borrow a valve spring compressor, my Princess Auto one didn't explode halfway through the job.


New seals, a lovely green colour.


All in, in dire need of a parts shipment before further progress is to be made.


I live with fear and danger everyday, but sometimes I leave her at home and go motorcycling.

madmac74

  • Guest
Re: Rebuilding Roseanne
« Reply #13 on: October 26, 2010, 05:38:06 PM »
aaahhhh yes Memories!!!!   ;D ;D  Lokking good Hans...  Is that a Bergman spin-on oil filter adaptor?
MAC :)

Hans

  • Club Member
  • *****
  • Posts: 1055
    • View Profile
Re: Rebuilding Roseanne
« Reply #14 on: November 01, 2010, 10:13:06 PM »
Parts arrived today, so off we go......

Piece with the white gooey assembly lube is a starter chain guide, was waiting for this.  New bearing shells in too.


Old starter clutch, new starter chain, new cam chain and crank into the top case.  The big ass chain only does the starting duties.


Two case halves almost ready to meet.  Have to find out whether my crank seal is correct.  The baggie had the right part number, and the ID and OD are correct, but the old one had a flange on it and the new one doesn't.


« Last Edit: November 01, 2010, 10:55:02 PM by Hans »
I live with fear and danger everyday, but sometimes I leave her at home and go motorcycling.